1. Activate Pay.jp as payment gateway
-
Once you have activated Pay.jp plugin, you need to validate the licence in HBook > Licence.
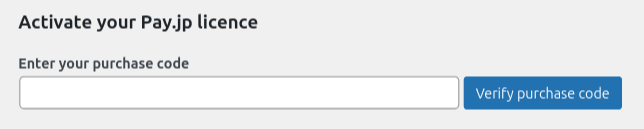
-
Set Pay.jp as active payment gateways in HBook > Payment > Active payment gateways
2. In HBook, add Pay.jp credentials
-
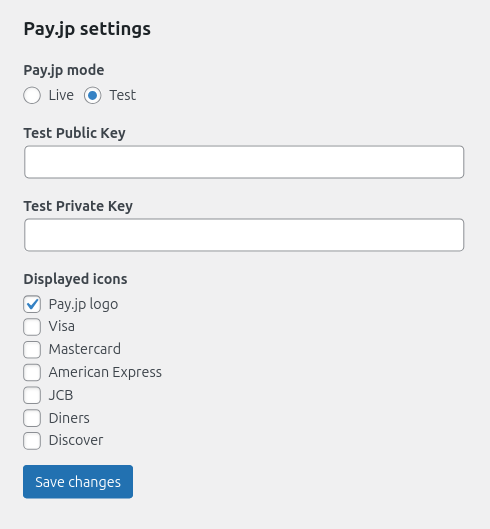
Enter your Pay.jp information in HBook > Payment > Pay.jp settings.
-
You will find the Private key and Secret key in your Pay.jp dashboard, in the menu API Settings.
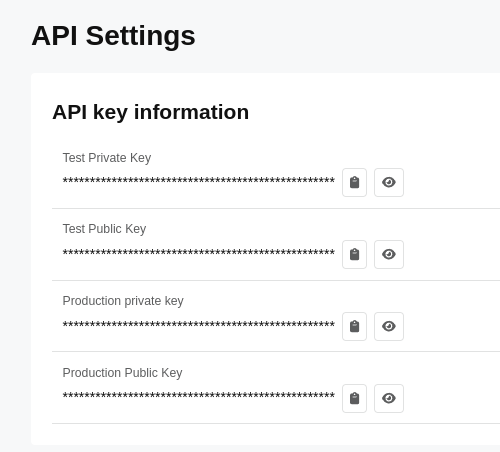
Please note that the credentials are different for Sandbox and Live environment.
-
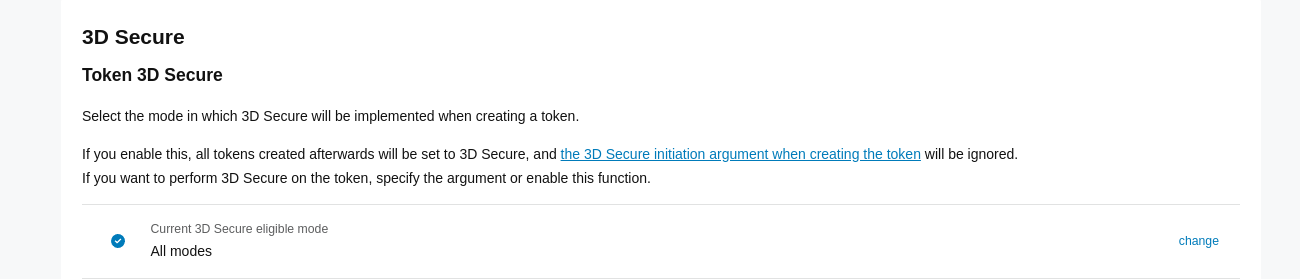
In the menu API settings > 3D Secure, enable 3DS Secure when creating token, for all modes (test and live).
Which test cards can I use?
-
You can run a test payment. You will find test cards here: https://pay.jp/docs/testcard
Where can I modify/translate the text displayed by HBook for Pay.jp payment?
-
You will find the strings displayed to the customer, in English, in HBook > Text > Pay.jp payment.
Limitations with Pay.jp
-
You can not have multiple booking form on a same page with Pay.jp. Pay.jp loads the credit card form on the first one of the page, and it can not be loaded more than once (they add an #id where the script is placed, so it had to be unique).
-
The text "Card info provided" can not be modified. It is Pay.jp who displays it and there aren't any option for this text.
-
If you wish to change the colour of the buttons "Enter your card details", you can add CSS in HBook - Appearance - Custom CSS for front-end. For example:
#payjp_checkout_box input[type="button"] {
  background-color: #198fcc !important;
}