1. Activate 2Checkout as payment gateway
-
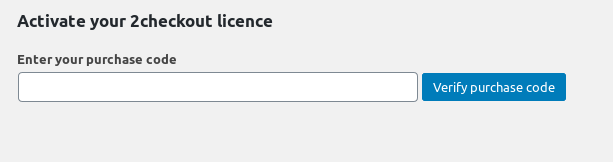
Once you have activated 2Checkout for HBook plugin in you need to validate the licence in HBook > Licence.
-
Set 2Checkout as active payment gateways in HBook > Payment > Active payment gateways
2. In HBook, add 2Checkout credentials
Enter your 2Checkout information in HBook > Payment > 2Checkout settings.
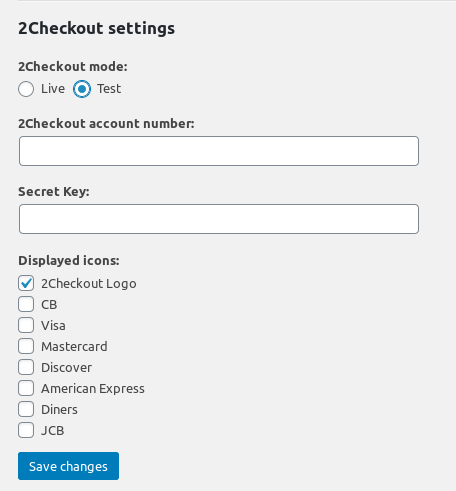
Test and Live environments
2Checkout settings are the same for Sandbox and Live environment.
In HBook > Payment > 2Checkout settings, you can switch between "Live" and "Test" environment. It will change the 2Checkout payment environment to real or sandbox payments. You can view both environments transactions in your 2Checkout dashboard.
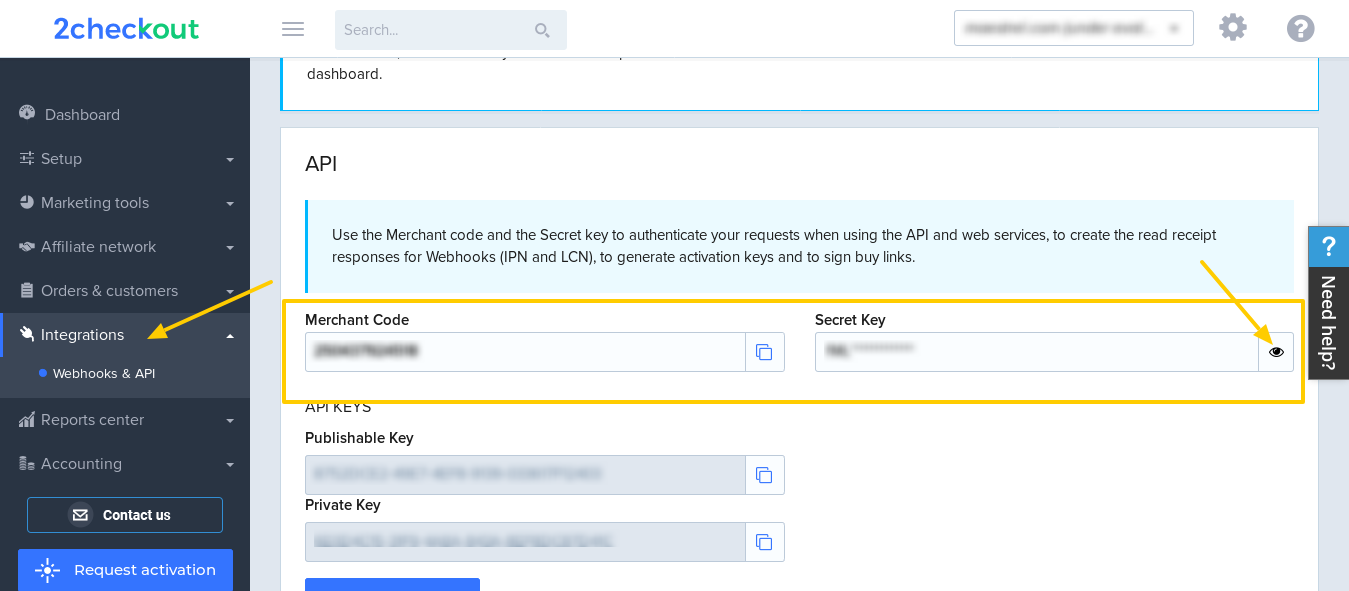
Where can I find the 2Checkout Merchant ID and Secret key?
In your 2Checkout dashboard, you will find your Merchant ID and your Secret key in Integrations > Webhook and API.
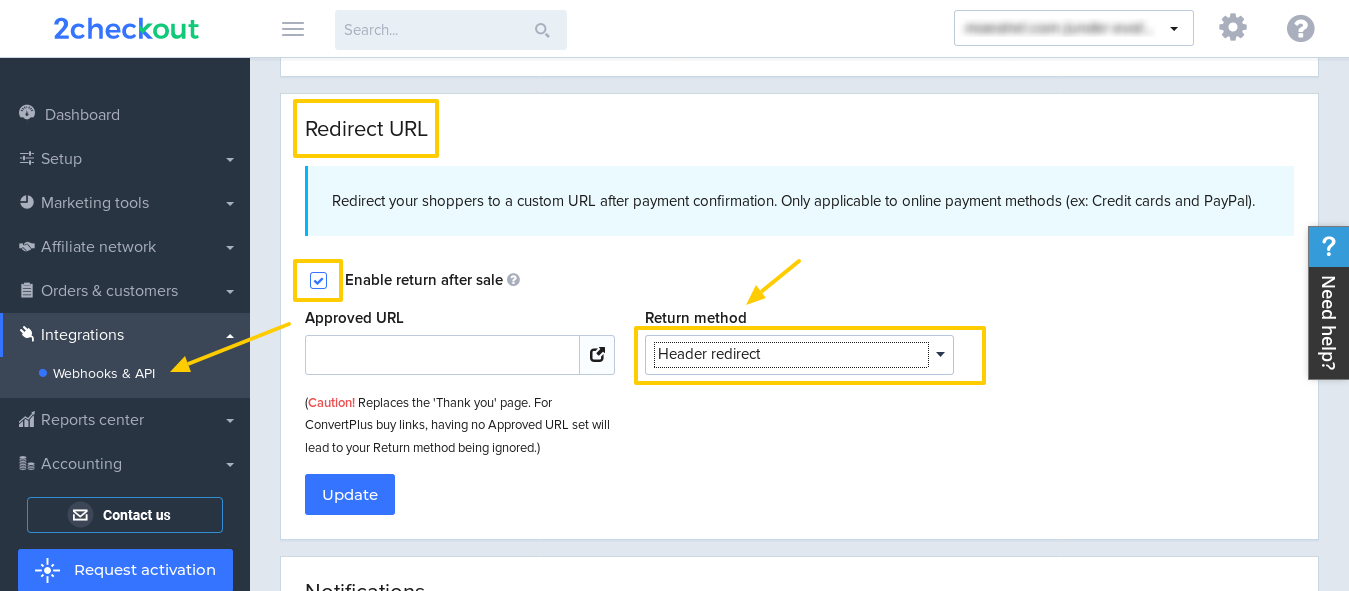
3. In 2Checkout, enable return after sale
You need to indicate under Integrations > Webhook and API that you "Enable return after sale" and to check the option "Header URL".
We take care of the return URL ourselves, nothing else to do. This is very important as it will force the redirect to your website once the payment is completed and HBook needs it to process the result of the transaction, update the reservation details, send the emails, etc.